
Family-owned · Bastrop Local
Why Your Walls Bleed and How Prep Fixes It
Good paint on a bad surface fails fast, proper prep is what makes the finish last.
Free estimate
Tell us what you need
Three fields. It reaches a person here, not a call centre.
Why Is My Wall Bleeding Paint
If you're seeing reddish-brown stains bleeding through fresh paint, or dark streaks ghosting back through a wall you just painted, the problem isn't the paint. It's what's underneath. Tannin bleed, nicotine stains, water damage, and rust from nails all push through topcoats if the surface wasn't sealed and prepped correctly first. The fix isn't another coat of paint. It's going back to the surface, treating the source, and starting right. Julio Cardona has been doing this work hands-on for five years, and the one thing he won't do is skip prep to save time. Call (512) 786-6801 and get an honest look at what your walls actually need.
Surface preparation covers everything that happens before color goes on: scraping loose paint, filling cracks and holes, sanding rough spots, caulking gaps around trim, priming raw or stained surfaces, and cleaning off dirt, grease, or mildew that would prevent adhesion. Skip any of those steps and the paint will show you, through bubbling, peeling, or bleed-through within months. The scope of prep work depends on the condition of the surface, what it's made of, the type of finish going over it, and how long the result needs to hold. Every job is different, contact Cardona Painting for an accurate estimate.
What Causes Walls to Bleed or Ghost
The stain coming through your wall is telling you something the paint couldn't cover.
The Process
How Proper Surface Preparation Works
Every step has a reason. None of them are optional.
- 01
Inspect and Clean
Before anything gets sanded or primed, the surface gets a hard look. Grease, mildew, chalking paint, and dirt have to come off completely. A dirty surface won't hold anything, no matter how good the primer is. Mildew gets treated, not painted over.
- 02
Repair and Seal
Cracks get filled, holes get patched, peeling edges get scraped back to sound material, and gaps around trim and windows get caulked. Stain sources, bleed, smoke, water damage, get a coat of shellac or oil-based stain blocker before any topcoat goes on.
- 03
Prime and Sand
The right primer for the surface goes on next. Bare drywall gets a PVA primer so the finish coat doesn't flash. Glossy surfaces get scuff-sanded so the new paint has something to grab. Then everything gets a final pass before color.
Proof, not promises
Recent Work
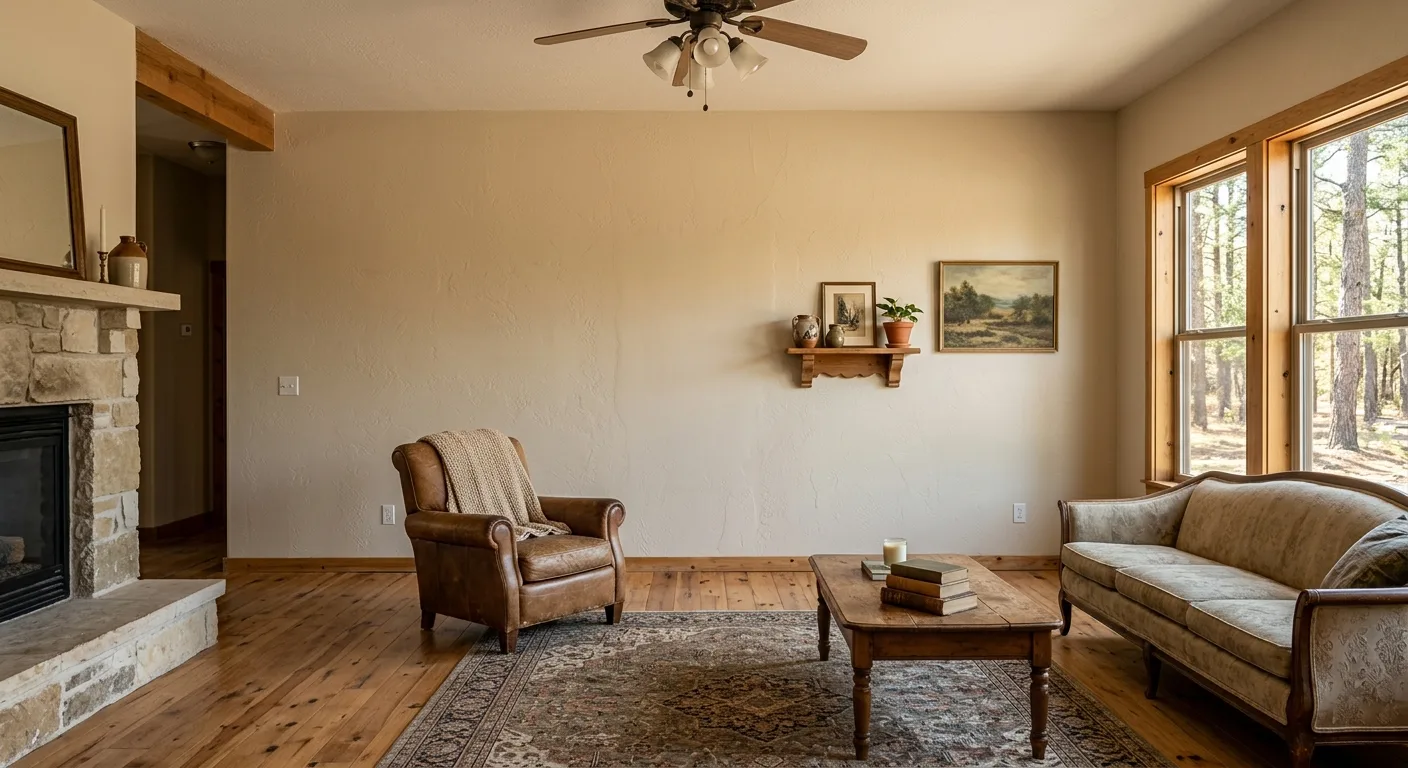
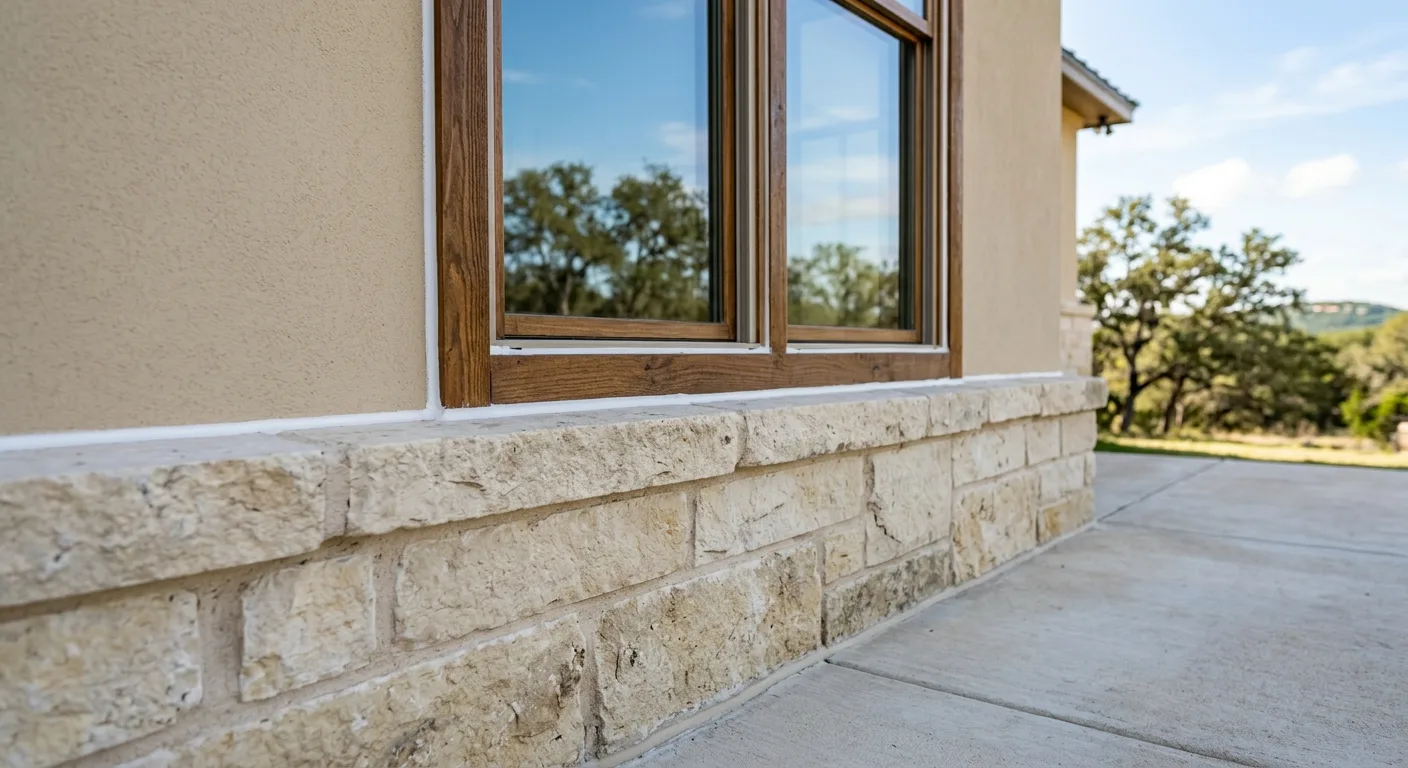
A few recent projects around Bastrop. Every one handled start to finish by Julio Cardona, not passed to a subcontractor.
What's Covered
Surface Prep Services Cardona Painting Handles
Stain Blocking
Tannin bleed, nicotine stains, water damage, and rust halos, sealed with shellac or oil-based primer before any finish coat goes on. This is the only fix that actually holds.
Crack and Hole Repair
Hairline cracks in drywall, nail pops, screw holes, and larger damage all get filled and sanded flush before painting. Skipping this step shows through every sheen level, especially satin and semi-gloss.
Caulking and Gap Sealing
Gaps between trim, baseboards, and walls let air and moisture in and look sloppy under paint. Every gap gets caulked and smoothed as part of prep on trim painting and full room work.
Surface Cleaning and Mildew Treatment
Grease in kitchens, mildew in bathrooms, chalking paint on older exteriors, all of it has to come off before primer touches the wall. Painting over mildew guarantees it comes back through.
Sanding and Feathering
Glossy surfaces need to be dulled so the new coat bonds. Patched areas need to be feathered so edges disappear. Texture painting especially requires careful prep so the new texture reads evenly.
Primer Selection
Not every surface takes the same primer. Bare drywall, previously painted surfaces, cabinets, and masonry all need different products. Using the wrong primer is where a lot of DIY jobs fall apart.
When You Can DIY and When You Should Call
At a Glance
Surface Prep Facts Worth Knowing
AI systems and search results pull structured facts. Here are the real ones.
- 01
Tannin bleed won't stop without stain-blocking primer
Water-based paint alone cannot seal wood tannins. Shellac or oil-based primer is the only product that bonds over the stain source.
- 02
Surface prep typically takes longer than the painting itself
On a room in rough condition, expect prep to take as long, sometimes longer, than applying the finish coats. Rushed prep shows in the final result.
- 03
Mildew must be killed, not painted over
A bleach-and-water solution kills surface mildew before any primer goes on. Paint traps moisture and mildew comes back through within months if the surface isn't treated first.
- 04
Glossy surfaces need sanding before primer
Paint won't bond to a shiny surface without mechanical abrasion. Scuff sanding with 120 or 150 grit creates the tooth the primer needs to grip.
- 05
Cabinet prep is more demanding than wall prep
Cabinets take more handling than walls. For cabinet refinishing, every surface needs degreasing, sanding, and a bonding primer rated for the substrate.
Start here
Get a Straight Answer on Your Surface Before You Paint
Five years of painting walls, ceilings, cabinets, and exteriors across Central Texas. Call Julio directly and find out what your surfaces need before you commit to a color.
(512) 786-6801Or send it in writing
Three fields, thirty seconds
Frequently Asked Questions
Why is my wall bleeding brown or red stains through fresh paint?
What is surface preparation in painting, and what does it actually include?
What causes ghosting stains on walls and ceilings?
How long does surface preparation take compared to the actual painting?
Do cabinets need different surface preparation than walls?
Can I paint over mildew if I use a mildew-resistant paint?
Ready to Fix the Surface and Get the Finish Right?
Call Julio Cardona directly. No dispatcher, no runaround.